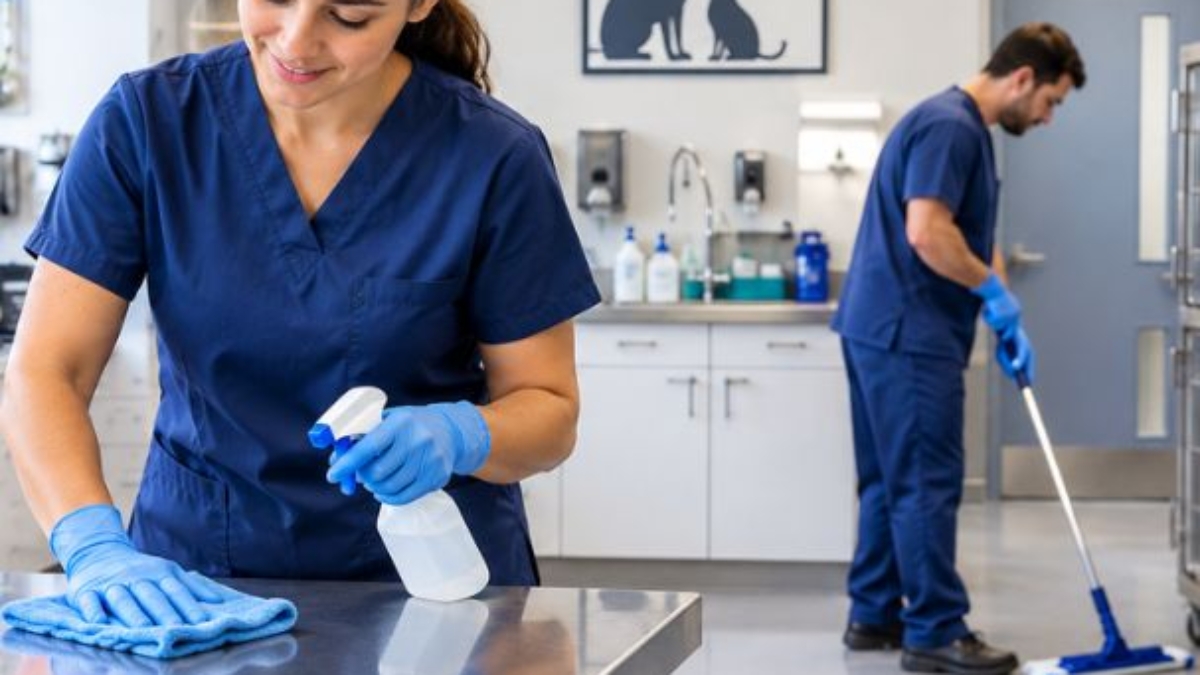
A veterinary clinic needs more than a quick sweep and a pleasant-smelling waiting room. Dogs, cats, and other patients can bring hair, dirt, urine, feces, bodily fluids, and infectious organisms into areas where other animals, clients, and staff interact.
That makes proper cleaning and disinfection an important part of veterinary infection prevention. The American Animal Hospital Association (AAHA) recommends written cleaning procedures, staff training, appropriate disinfectants, and regular monitoring as part of a veterinary infection control program.
For clinics looking at veterinary clinic cleaning in Jacksonville NC, understanding common mistakes can help teams create safer and more consistent routines.
The good news? Many cleaning problems are surprisingly simple to fix. The trick is knowing what actually works.
Why Proper Veterinary Clinic Cleaning Matters
Veterinary facilities have a unique cleaning challenge. A clinic may handle healthy pets in one room and a patient with a suspected infectious condition in another.
Cleaning helps remove visible dirt and organic material. Disinfection then targets microorganisms that remain on appropriately cleaned surfaces. AAHA specifically notes that these are separate steps and that disinfection works best after proper cleaning.
This matters because surfaces such as examination tables, kennels, floors, equipment, door handles, and keyboards can become part of the pathway for contamination.
A good cleaning program should therefore consider:
- What surface needs cleaning
- How often it needs attention
- Which product is appropriate
- How the product should be diluted
- How long the surface must remain wet
- Who performs the task
- How staff confirm the task was completed
10 Common Veterinary Clinic Cleaning Mistakes
1. Disinfecting Without Cleaning First
One of the most common mistakes is applying disinfectant directly over dirt, hair, feces, or bodily fluids.
Disinfectants work best on surfaces that have already been cleaned. Organic matter can reduce a disinfectant’s effectiveness and prevent it from reaching the surface properly.
How to avoid it
Use a two-stage process:
- Remove bedding, waste, hair, and other visible material.
- Clean the surface with water and detergent.
- Rinse away detergent and loosened debris.
- Allow the surface to dry when required.
- Apply the disinfectant at the correct concentration.
- Keep the surface visibly wet for the label’s required contact time.
This process applies to kennels, examination tables, treatment areas, scales, and other frequently touched surfaces.
2. Ignoring Contact Time
Many staff members spray a disinfectant and wipe it away immediately. Unfortunately, a product cannot work properly if it does not remain wet for the required period.
Contact time varies by product, concentration, surface, and target organism. Some EPA product labels require a surface to remain visibly wet for one minute, while other products may require longer.
How to avoid it
Read the product label before using a disinfectant. Train staff to follow the listed contact time instead of relying on a quick wipe.
A simple timer or written checklist can help. If the product requires five minutes of wet contact time, the surface must remain wet for five minutes. “Almost five” is not a scientific measurement; it is usually just wishful thinking wearing a lab coat.
3. Using the Wrong Disinfectant
Not every disinfectant works against every pathogen. Some products may be effective against certain bacteria and viruses but less effective against resistant organisms or bacterial spores.
Choosing a product because it smells strong is also a mistake. A sharp chemical smell does not prove that a disinfectant is effective.
How to avoid it
Select an EPA-registered product suitable for veterinary environments. Check:
- The organisms listed on the label.
- Required dilution.
- Contact time.
- Surface compatibility.
- Safety precautions.
- Rinsing requirements.
- Storage and disposal instructions.
The clinic’s veterinarian or infection-control coordinator should approve products used in patient-care areas. Staff should also have access to current safety data sheets and product instructions. AAHA recommends following manufacturer instructions for mixing, personal protective equipment, disposal, and ventilation.
4. Reusing Dirty Cleaning Tools
A cloth or mop can spread contamination when staff use it across multiple rooms without changing or cleaning it.
For example, using the same cloth in an isolation room and then in a general examination room can move contaminants from a high-risk area to a lower-risk area.
How to avoid it
Use a colour-coded or area-based cleaning system. Assign separate tools to:
- Waiting rooms.
- Examination rooms.
- Treatment areas.
- Kennels.
- Isolation rooms.
- Restrooms.
- Staff areas.
Change disposable cloths frequently. Wash reusable mop heads and cleaning cloths according to the clinic’s written procedure. Store clean and used supplies separately.
Cleaning should move from cleaner areas toward dirtier areas. It should also move from higher surfaces to lower surfaces so dust and debris do not fall onto areas already cleaned.
Interesting Read: Veterinary Cleaning Compliance: What Clinics Need to Know
5. Forgetting High-Touch Surfaces
A spotless floor does not compensate for dirty door handles. Veterinary clinics contain many high-touch surfaces that staff and clients handle throughout the day.
These may include:
- Door knobs and push plates.
- Reception counters.
- Payment terminals.
- Light switches.
- Faucet handles.
- Computer keyboards.
- Telephone surfaces.
- Cage latches.
- Drawer handles.
- Examination-room equipment.
How to avoid it
Create a high-touch surface checklist and assign cleaning frequencies. Clean visibly soiled surfaces immediately, and disinfect frequently handled areas according to the clinic’s infection-control plan.
Hand hygiene is equally important. The CDC identifies hand hygiene as a key measure for reducing disease transmission after contact with animals.
6. Cleaning Around Animals Without Proper PPE
Cleaning cages, litter boxes, and contaminated equipment can expose workers to feces, urine, vomit, blood, and other potentially infectious materials.
Skipping gloves or using inadequate protective clothing increases the chance of contamination. Gloves also do not replace handwashing. Staff can contaminate their hands while removing gloves or touching dirty surfaces.
How to avoid it
Use PPE based on the task and expected exposure. This may include:
- Disposable gloves.
- Protective gowns or aprons.
- Eye protection.
- Face protection when splashing is possible.
- Closed-toe, easy-to-clean footwear.
Remove PPE carefully and dispose of or launder it according to the clinic’s procedure. Wash hands after removing gloves.
The NASPHV guidance recommends gloves when cleaning cages, litter boxes, contaminated equipment, and environmental surfaces.
7. Using High-Pressure Washing Indoors
High-pressure water may appear efficient, especially when removing stubborn debris from kennels. However, pressure can spread contaminated droplets and force organic material into cracks, joints, and porous surfaces.
AAHA warns that high-pressure washing can aerosolize organisms and spread overspray into areas that were previously clean.
How to avoid it
Use controlled cleaning methods indoors:
- Remove solid waste first.
- Use detergent and warm water.
- Scrub areas with visible buildup.
- Rinse carefully without creating overspray.
- Use suitable brushes for grout, drains, and kennel corners.
- Disinfect after cleaning.
- Allow the area to dry before reuse.
Reserve pressure-washing methods for appropriate outdoor or specially designed areas where the water, debris, and aerosols can be safely controlled.
8. Neglecting Laundry and Bedding
Dirty bedding, towels, blankets, and gowns can carry hair, skin debris, urine, feces, and infectious material. Placing contaminated laundry in a shared pile can spread contamination through the facility.
How to avoid it
Remove gross contamination before laundering when appropriate. Use designated containers for dirty laundry, and separate laundry from isolation or high-risk areas according to the clinic’s written policy.
Do not shake soiled bedding. Shaking can release contaminated particles into the air. Staff should wear appropriate PPE when handling heavily contaminated materials.
AAHA recommends assessing heavily contaminated linens, removing gross organic matter before washing, and processing items from infected animals separately when appropriate.
9. Cleaning Isolation Areas Like Regular Rooms
Isolation rooms require additional attention because they may house animals with suspected or confirmed infectious diseases.
A common mistake is cleaning an isolation room with the same routine and tools used for a general examination room. This can increase the risk of cross-contamination.
How to avoid it
Create a written isolation-room procedure that covers:
- Restricted access.
- Required PPE.
- Dedicated cleaning tools.
- Waste handling.
- Laundry handling.
- Cleaning order.
- Disinfectant selection.
- Contact time.
- Final inspection.
- Safe removal of PPE.
Clean isolation areas with dedicated supplies whenever possible. Staff should clean from the least contaminated areas toward the most contaminated areas and avoid carrying used equipment through clean spaces.
The CDC notes that environmental surfaces should be thoroughly cleaned and disinfected after an animal is removed from a care area.
Interesting Read: Pet-Friendly Office Cleaning: How to Keep Workspaces Clean When Employees Bring Dogs
10. Relying on Appearance Instead of a Cleaning Plan
A clinic may look clean and still have weak infection-control practices. Shiny floors do not prove that cage latches, equipment controls, drains, and treatment surfaces received proper attention.
Without a written plan, cleaning tasks depend too heavily on memory. Busy staff may also assume someone else completed the work.
How to avoid it
Build a cleaning schedule that identifies:
- What must be cleaned.
- Which product should be used.
- How often the task should occur.
- Which staff member is responsible.
- What PPE is required.
- How completion is documented.
- Who checks the work.
Use separate schedules for daily, between-patient, weekly, and deep-cleaning tasks. Review the plan after outbreaks, renovations, new equipment purchases, or changes in patient volume.
Clinics seeking veterinary clinic cleaning in Jacksonville NC, should look for a provider that understands the difference between ordinary office cleaning and animal-care environmental cleaning.
When to Hire Professional Help
Veterinary staff understand animal care, but they may not have enough time to complete every environmental cleaning task during a busy shift. Professional cleaners can support routine janitorial work, deep cleaning, floor care, restroom sanitation, and high-touch surface cleaning.
When comparing providers, ask whether the company:
- Has experience in healthcare or veterinary environments.
- Trains employees in PPE and chemical safety.
- Uses written checklists.
- Follows product labels.
- Separates cleaning tools by area.
- Can work around animals and clinic schedules.
- Carries appropriate insurance.
- Communicates clearly with clinic management.
A local provider may also serve nearby businesses searching for commercial cleaning in Sneads Ferry or a commercial cleaning company in Surf City NC. However, the clinic should confirm that the company can follow veterinary-specific procedures rather than offering only general office cleaning.
How to Build a Better Veterinary Cleaning Routine
A strong cleaning program does not need to be complicated. It needs to be consistent.
Start by identifying the surfaces and areas that require routine cleaning. Then assign responsibilities and establish appropriate frequencies.
Your plan can include:
- Examination rooms
- Kennels and cages
- Treatment areas
- Floors
- Waiting areas
- Isolation rooms
- Frequently touched surfaces
- Reusable equipment
- Waste-handling areas
- Laundry areas
AAHA also recommends keeping product safety information available and following instructions for mixing, disposal, PPE, ventilation, concentration, and contact time.
For a veterinary practice evaluating a commercial cleaning company in Surf City NC, it is also worth asking how the company handles veterinary environments rather than assuming a standard office-cleaning routine will cover every requirement.
5 Cleaning Myths and Truths
Myth: A clean-looking clinic is always safe.
Truth: High-touch surfaces can still contain contaminants, even when they look spotless.
Myth: Disinfectant works over dirt.
Truth: Clean visible waste and debris before applying disinfectant.
Myth: You can wipe disinfectant off immediately.
Truth: Follow the product label’s required contact time.
Myth: One product works for every surface.
Truth: Choose products based on the surface, safety requirements, and targeted pathogens.
Myth: Veterinary cleaning is the same as office cleaning.
Truth: Veterinary facilities require special procedures for animal waste, PPE, isolation rooms, and infection control.
What Should a Veterinary Clinic Cleaning Checklist Include?
A practical checklist should answer five basic questions:
1. What needs cleaning?
List rooms, surfaces, equipment, and high-touch areas.
2. How often should it happen?
Separate between-patient tasks from daily, weekly, or periodic tasks.
3. What product should staff use?
Identify approved products and follow manufacturer directions.
4. Who is responsible?
Assign each task clearly.
5. How do you verify completion?
Use checklists, logs, supervisor reviews, or another practical monitoring system.
This structure makes it easier to identify missed tasks and improve procedures over time.
How Professional Cleaning Supports Veterinary Infection Control
Professional cleaning does not replace veterinary infection-control protocols. Instead, it can support the daily work required to maintain a clean environment.
A specialized provider should understand that veterinary facilities have different cleaning requirements from ordinary offices. Animal hair, bodily fluids, cages, examination areas, and potentially infectious patients all create different challenges.
If a practice is considering veterinary clinic cleaning in Jacksonville NC, the discussion should focus on procedures, training, products, responsibilities, and communication rather than simply asking how often someone will mop the floor.
Likewise, practices considering commercial cleaning in Sneads Ferry should make sure the cleaning plan reflects the actual environment and risk profile of the facility.
A cleaning company should also understand that veterinary teams may have specific instructions for isolation rooms, patient-contact surfaces, waste, and equipment.
Frequently Asked Questions
1. How often should veterinary examination rooms be cleaned?
AAHA recommends cleaning and disinfecting examination rooms and other high-patient-contact surfaces between patients. Additional cleaning and disinfection should occur when surfaces become visibly contaminated.
2. Is cleaning the same as disinfecting?
No. Cleaning removes visible organic material and debris, while disinfection uses an appropriate chemical process to reduce microorganisms on a cleaned surface. Cleaning should come before disinfection.
3. How long should disinfectant remain on a veterinary surface?
The required contact time depends on the specific disinfectant, concentration, and intended antimicrobial use. Always follow the product label. AAHA notes that contact times are commonly several minutes and that the surface should remain wet for the required period.
4. Should veterinary clinics clean door handles and keyboards?
Yes. These frequently touched surfaces can be overlooked. AAHA specifically includes door handles, light switches, keyboards, and mice among non-animal-contact surfaces that should receive attention.
5. Can a regular office cleaning service clean a veterinary clinic?
A general cleaning company may not automatically understand veterinary infection-control requirements. Clinics should evaluate whether a provider can follow their specific cleaning, disinfection, PPE, product, and waste-handling procedures.
6. What should a clinic look for in a commercial cleaning provider?
Look for clear procedures, trained staff, appropriate product handling, reliable communication, documented responsibilities, and a willingness to follow the clinic’s infection-control requirements.
Final Thoughts
Effective veterinary clinic cleaning protects more than the appearance of a facility. It supports infection control, staff safety, animal welfare, and client confidence.
The most important principles are simple: remove organic matter before disinfecting, follow the product label, respect contact time, use appropriate PPE, prevent cross-contamination, and document responsibilities.
For clinics researching veterinary clinic cleaning in Jacksonville NC, a reliable cleaning plan and a properly trained service provider can make daily sanitation more consistent. The goal is not to make the clinic smell like a chemical factory. The goal is to create a clean, controlled, and safer environment for every patient, employee, and pet owner.

Leave A Comment